HR- Business Cloud ( termed as HRBC) Version 5.0.0 will have the following changes.
※This Article was Translated Automatically.
【Date and Time】
July 13th, 2021(Tue.)02:00~09:00
※24 hour clock system
※The maintenance time may be slightly off
※Services will be available as usual during the maintenance hours
【New Features】
You will be able to work faster.
- 1 New List View
- 2 Phase group
- 3 Search Condition Sidebar
- 4 Quick item editing
- 5 Sort / Filter
- 6 Pickup Color Settings
- 7 Reload
- 8 Setting the number of display data
- 9 Creation of extended contracts (functions for dispatch business)
- 10 Share
- 11 Enlarged display of the image
- 12 Display matched records
- 13 Add Process screen
- 14 Send JOB email, Send Resume / Candidate email
- 15 Menu color settings
- 16 New List View settings
- 17 Auto matching settings
1 New List View
- The new List View can now display data like a list.
- You can also set the number of data to be displayed at one time up to 500.
- Compared to the conventional List View, more data can be displayed on the List View, improving the speed of checking the data at the time of matching.

2 Phase group
- To List View, you will be able to view the phase groups of the Process.
- By setting the Process phase as a group, it can be displayed in the JOB list and Resume list.
- You can quickly grasp the progress of the process associated with JOB or Resume to which phase on the list screen.
3 Search Condition Sidebar
- In List View, you can now check the currently running Search Condition and the saved Search Condition.
- It's now easier to check Search Conditions and add or relax conditions for search result lists and matching result lists.
4 Quick item editing
- On the List View, you can now item editing.
- When you click the value of the item pop-up is displayed, where you can edit.
- You can edit phases and items while contacting Recruiter, Resume, and Staff, making it easier to work on the List View.
5 Sort / Filter
- You can now sort / filter data in List View.
- You can sort / filter the data by clicking the ▼ icon next to the item name.
- You can prioritize data in doing business.
6 Pickup Color Settings
- You can now set the color for the item value.
- By clicking the [Color Settings] button from the ▼ icon next to the item name, you can set the color displayed in the list for each value.
- In conducting the business, it can be used as an alert so as not to miss the information.
- Items that can be Color Settings are date type, Option type, Number type, and Currency type.
 ⇒
⇒
7 Reload
- You can reload the List View with Sort / Filter applied.
- For even newly added data, by clicking the [Reload] button, it can be displayed in a state in which sorted in Sort / Filter.
![]()
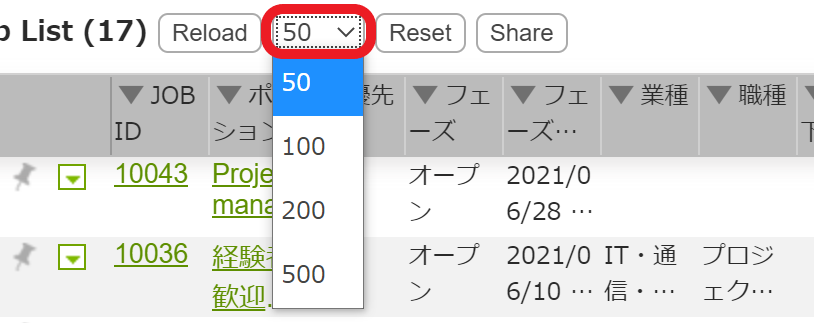
8 Setting the number of display data
- When New List View is set, the number of data to be displayed at one time can be set up to 500.
- The [See More] button to display the next 50 is not displayed, because you can now set up to 500 data to display at one time.

9 Creation of extended contracts (functions for dispatch business)
- In the dispatch business flow, when the contract is extended, the updated next contract data can be displayed on the same line as the current contract data.
- By using [Create Extended Contract] in the action menu, you can create new contract data as "Continued data of extended confirmed contract data".
- When performing the extension confirmation, you can check whether the next contract data has been created on the List View.

10 Share
- You can now share the sorted / filtered list by URL from the [Share] button.
- You can copy the share link or share it by email by clicking the Share button.
- List View can be shared as a list with in-house members.
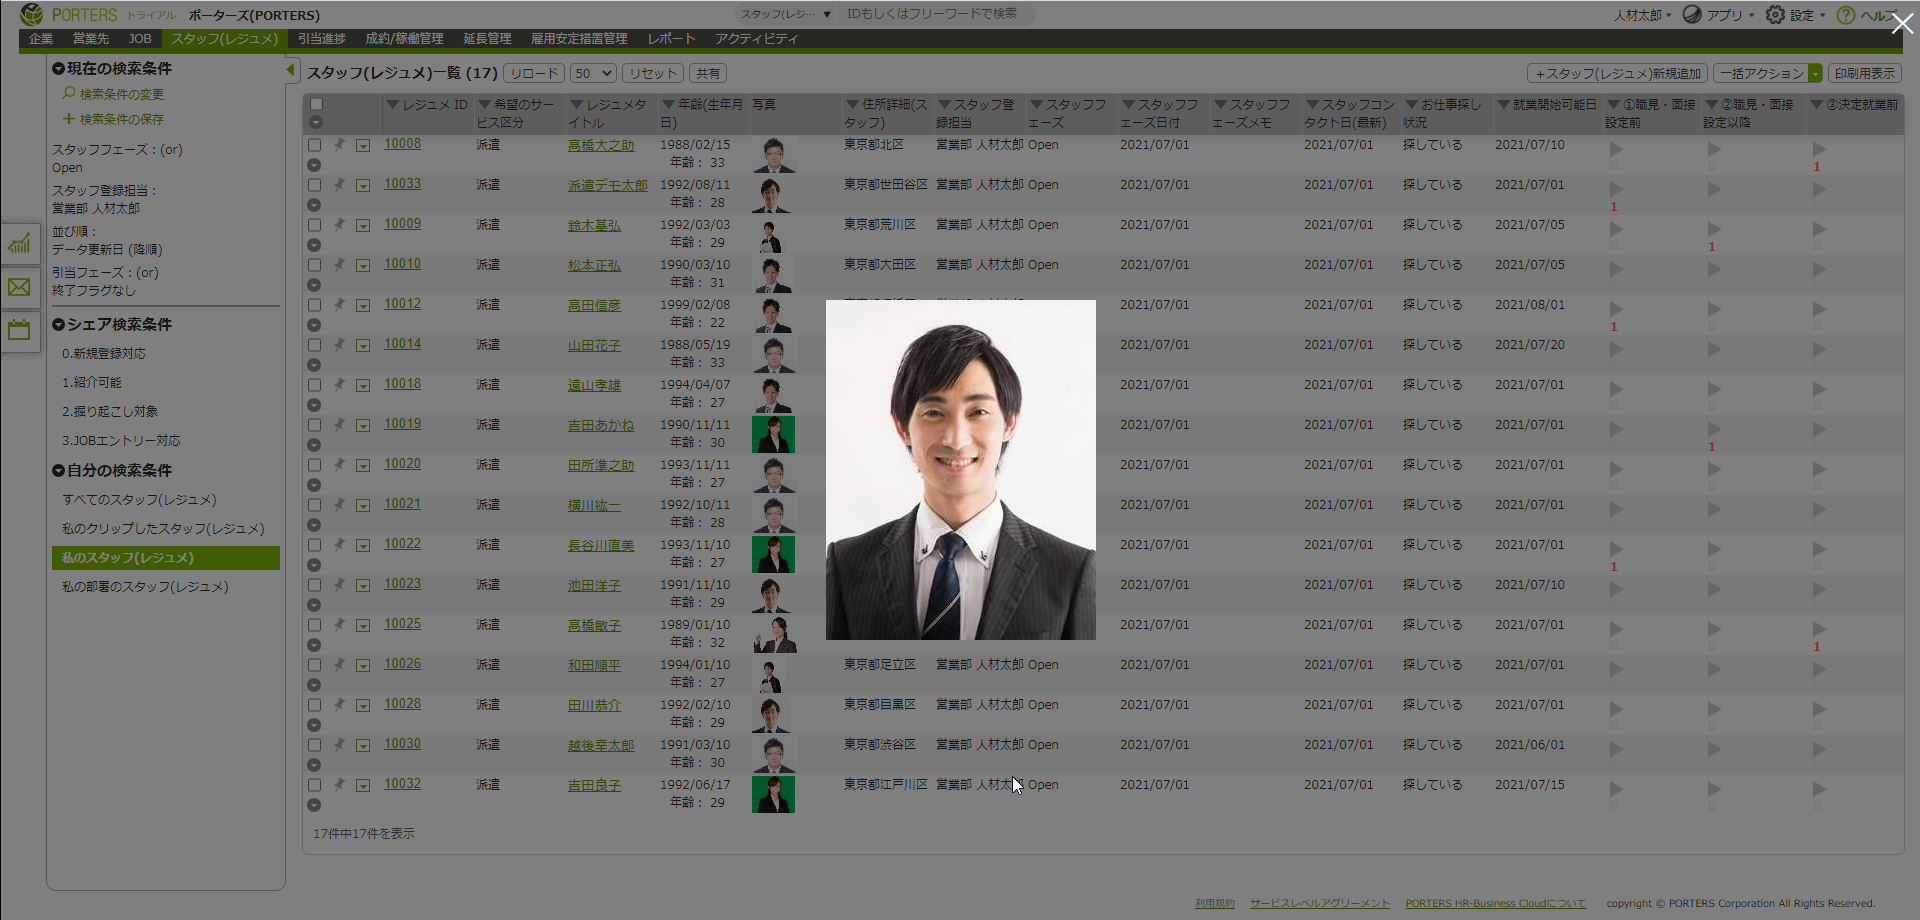
11 Enlarged display of the image
- Click the image displayed in List View to enlarge it.

12 Display matched records
- In the list displayed by matching, you can now display the data to which Process has already been added.
- "Matching to JOB XXXXX display matched records" is displayed at the top of the List View that is displayed by executing the matching action (auto matching, JOB search, Resume search). If you select the [display matched records] check box, the data will be displayed in a different background color if a Process has already been created with the data for which the matching action has been executed.
- You can take actions such as asking the status of data for which the Process has been delayed due to reasons such as "I asked for a job in the past but did not receive a reply".

13 Add Process screen
- You can now add Processes quickly.
- Click [Add Process] in the action menu of JOB and Resume to display the Add Process screen on the left side. You can select the data that matches the corresponding data and add the Process speedily.
- Even when you accept the application for JOB by telephone etc., you can quickly register it as Process data.


14 Send JOB email, Send Resume / Candidate email
- Send JOB email, Send Resume / Candidate email can now be done speedily.
- By clicking [Send JOB Email] [Send Candidate Email] in each action menu displayed in JOB and Resume, you can select the JOB or Resume / Candidate you want to introduce for the clicked data and send it by email.
- You can speedily send JOB and Resume by e-mail to the data you want to introduce.


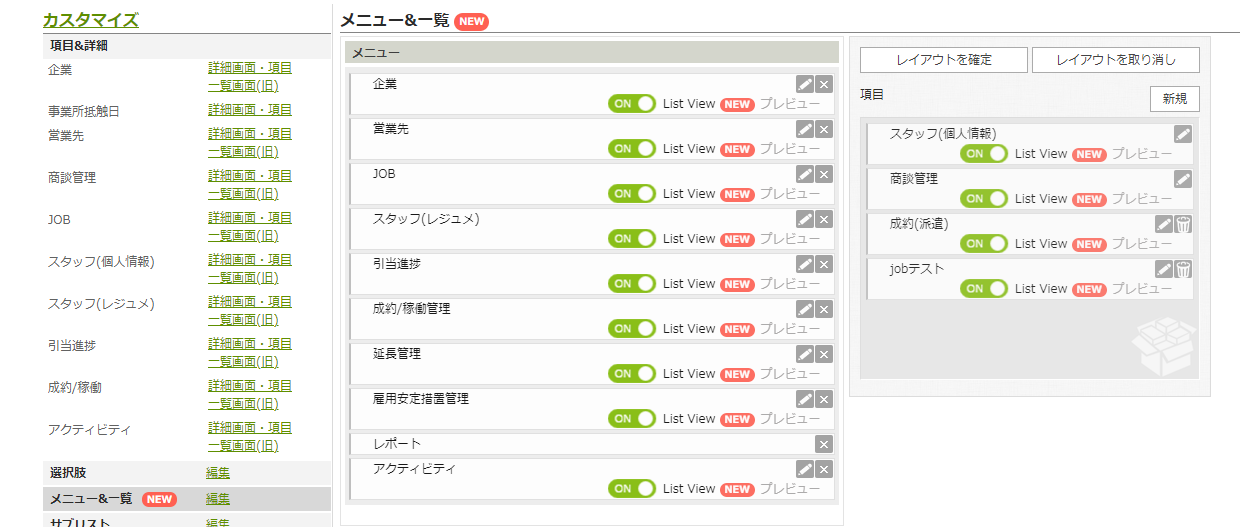
15 Menu color settings
- You can now set the color for each menu.
- It can be set from "Menu & List view" on the customize screen.
- By color-coding different menus such as JOB and Resume, you can easily understand which menu is currently open.


16 New List View settings
- You can switch List View to New List View for each menu from "Menu & List view" on the customize screen.
- Items to be displayed in the list can be set from the "List view" tab of the "Menu & List view" dialog.
- For menus that have already been created, the items displayed in the previous List View settings are automatically reflected.
- Items to be displayed in List View can now be selected from items of higher-level resources.

<Example of dispatch business>


<Example of employment placement business>

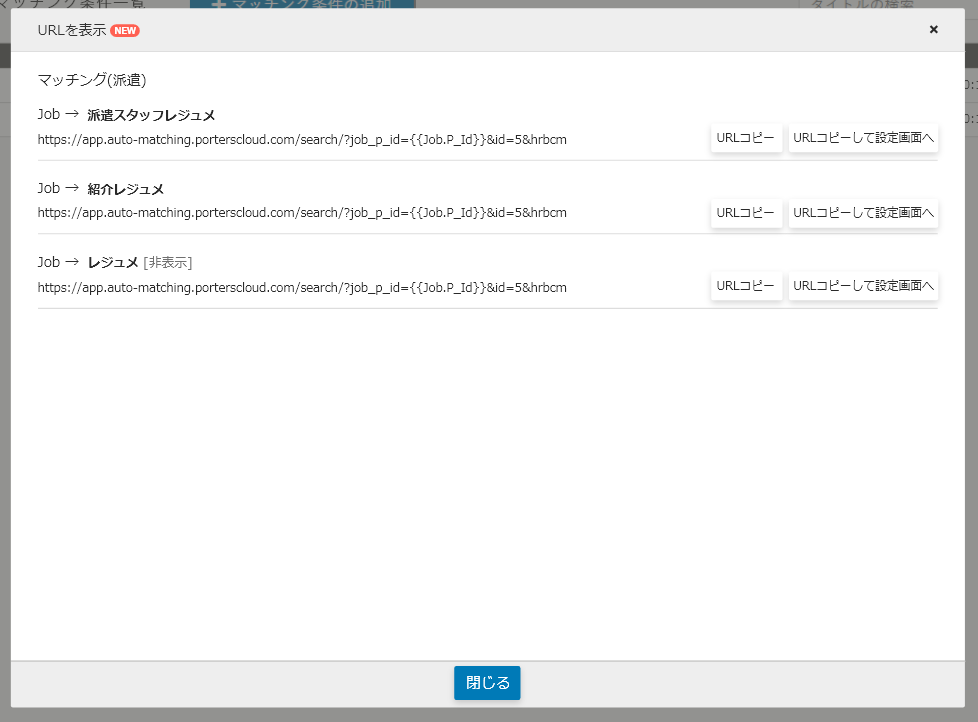
17 Auto matching settings
* This has been released on 2021/07/20 (Tue.).
- By setting the New List View, you can now select the display destination menu for the matching result when using auto matching. The menus that can be selected at the display destination are the JOB and Resume menus.
- For example, the matching result of the menu "Dispatch JOB" can be displayed in the list of the menu "Dispatch staff".

【Feature Updates】
- Changed "Recently Accessed" to show "Sales ID / Client Name / Person Name" when hovering over a menu where the resource is created as "Sales".
- Changed "Recently Accessed" to show "Position / Client Name / Recruiter Name" when hovering over a menu where the resource is created as "JOB".
- When the name of "Saved Search" is long, it was omitted with "...", but it has been changed so that the full text is displayed.
- Items set in List View could not be made unused in Detail View, but it is also possible to make them unused.
- The wording of [Send notification email] displayed on the new addition screen and edit screen has been changed to [In-house Sharing]. Also, on the dialog, the incremental search (search box) for selecting the user was displayed in "Others", but it has been changed to be displayed in "Recipients".
- The destinations that can be selected in the "Recipients" checkbox of [In-house Sharing] have been changed to the following.
・Client : Client Owner
・Recruiter : Recruiter Owner
・Job : Job Owner
・Person : Person Owner
・Resume : Resume Owner
・Process : Process Owner, Client Owner, Recruiter Owner, Job Owner, Resume Owner
*Client Owner and Recruiter Owner have been added in Ver. 5.0.1, released on July 19.
・Sales : Sales Owner
・Activity:(None)
・Opportunity : Opportunity Owner -
When selecting "Client", "Recruiter", "Job", "Person", and "Resume" on the new addition screen and edit screen, you can now search by ID in addition to the conventional text search.
- In the Data Conversion Setting screen of Import/Export, the option "Batch Edit" is now available.